How to Paint Drywall
How to Paint Drywall
If you've never experienced the joy of painting the walls yet, you will in the near future. Drywall is one of the most widely utilized materials to finish walls in the interior and can be commonly found in homes in a variety of locations around the globe. What exactly is it? Drywall -- also known as Sheetrock, gypsum board, or rock lath is made by mixing together fiber and gypsum, after which it is wrapped in a thick paper before letting it set. Once it's set, the final product is a sturdy solid material that is ideal to be used for ceilings and walls.
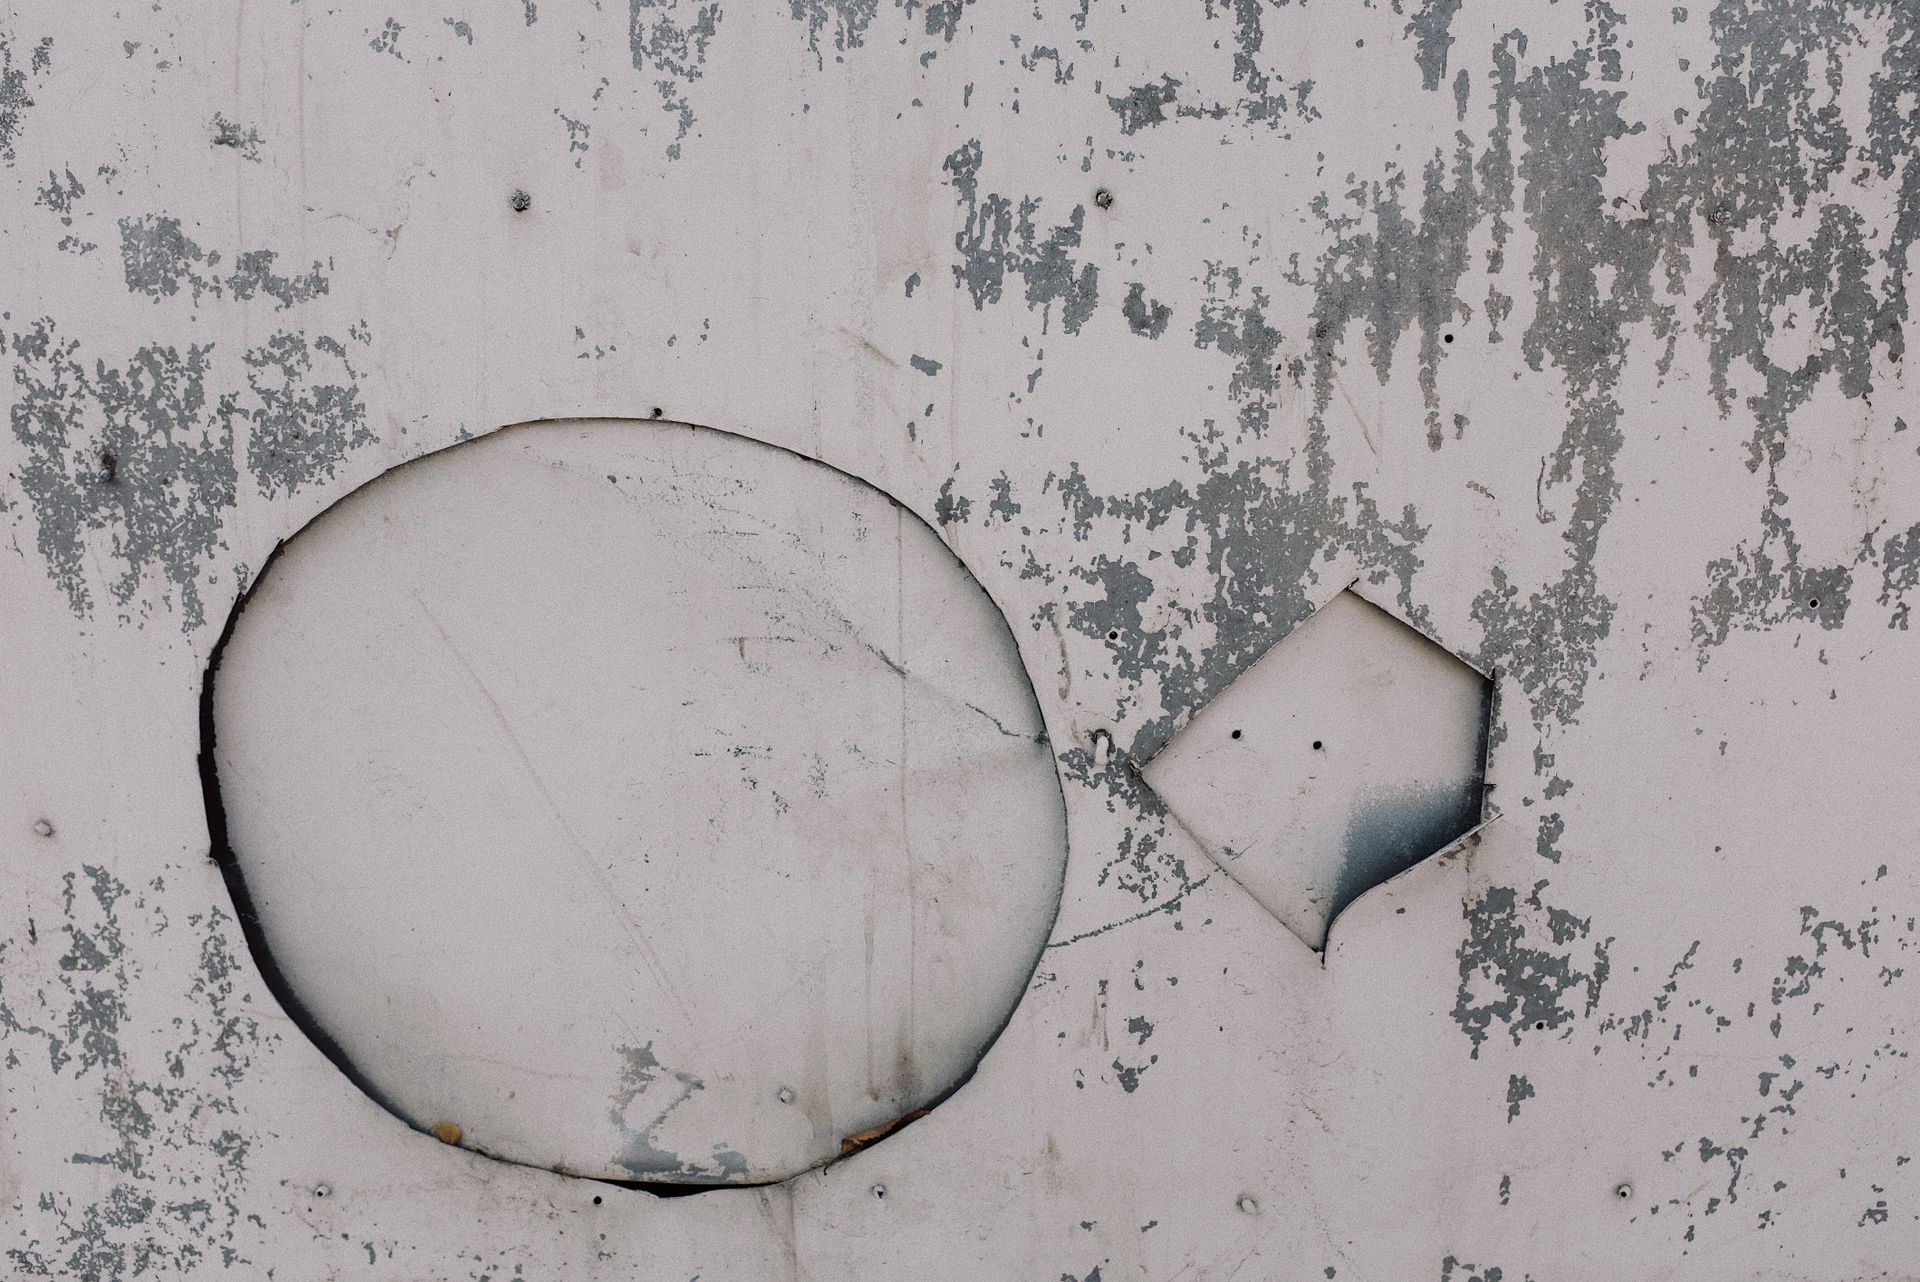
When building houses, builders attach sheets of drywall to the framing. After that, they seal all joints and flaws with joint compound, typically called "mud," and tape over them using a specific paper tape for drywall. This helps to strengthen the ceiling or wall as well as conceals gaps and imperfections, like the dimpled spots caused by inserting screws or nails into the drywall. Then it's time to get it painted.
The process of painting drywall is fairly simple. However, for the most effective results, follow a specific procedure that includes some preparatory work. This is something you will find out more about below.
Cover Your Bases: Drywall Prep
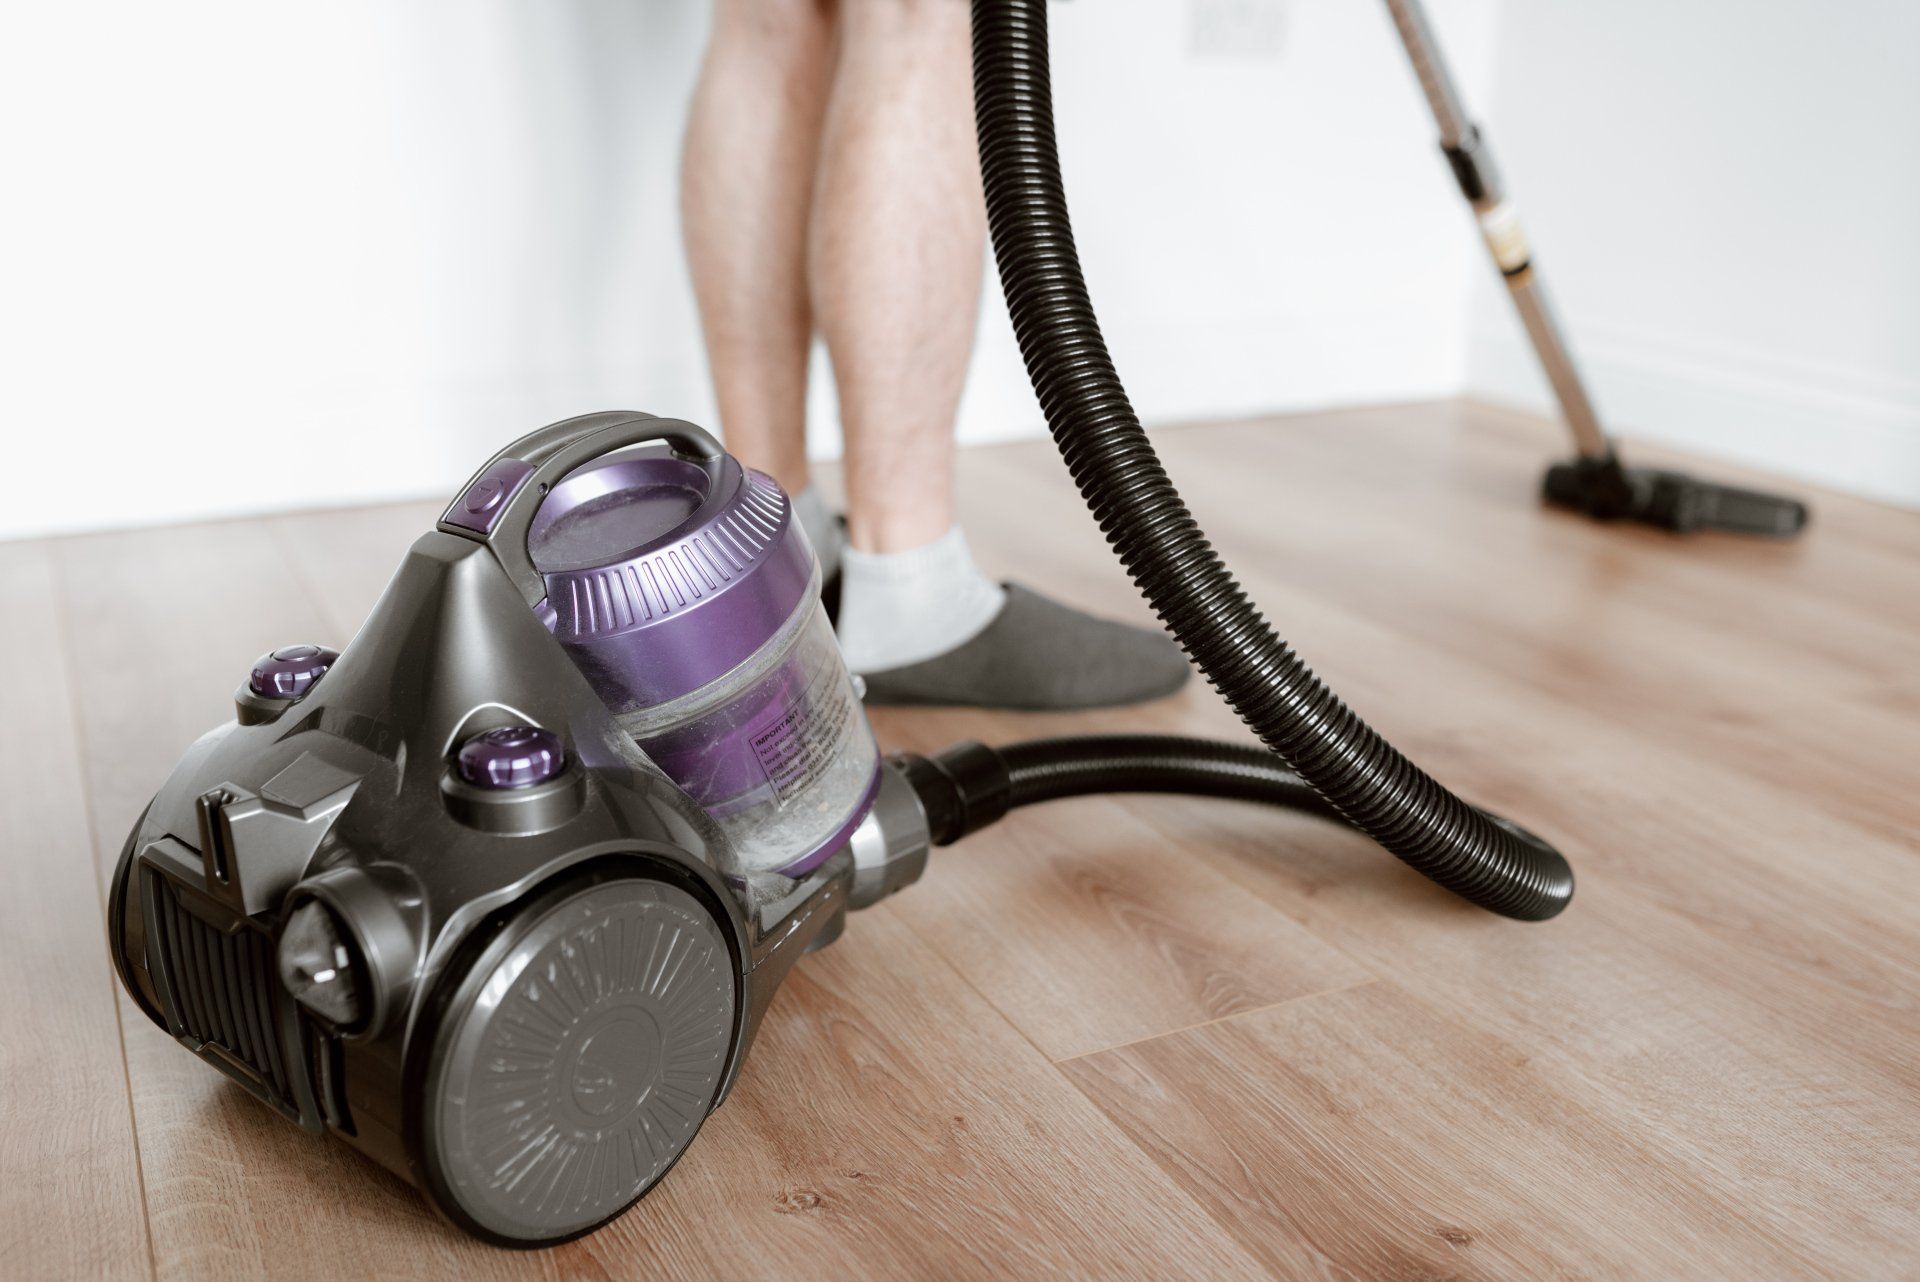
The painting process begins by clearing the surfaces that will be painted, most likely ceilings or walls. It's not an opulent task, but every ceiling and wall is full of dust, cobwebs, and other particles of dirt, even if they're not evident, and you wouldn't wish to paint over them. The bathroom and kitchen drywall are particularly susceptible to collecting dirt such as grease, oil, and food debris in kitchen; hairspray, cosmetics, and hair particles in bathrooms. The new drywall is extremely dusty. It is possible to clean walls with a simple vacuum or a microfiber tack cloth. But, do the dishes in the bathroom and kitchen with a cleaner for your home to ensure you clean off any oil, grease, and other dirt that is heavier.
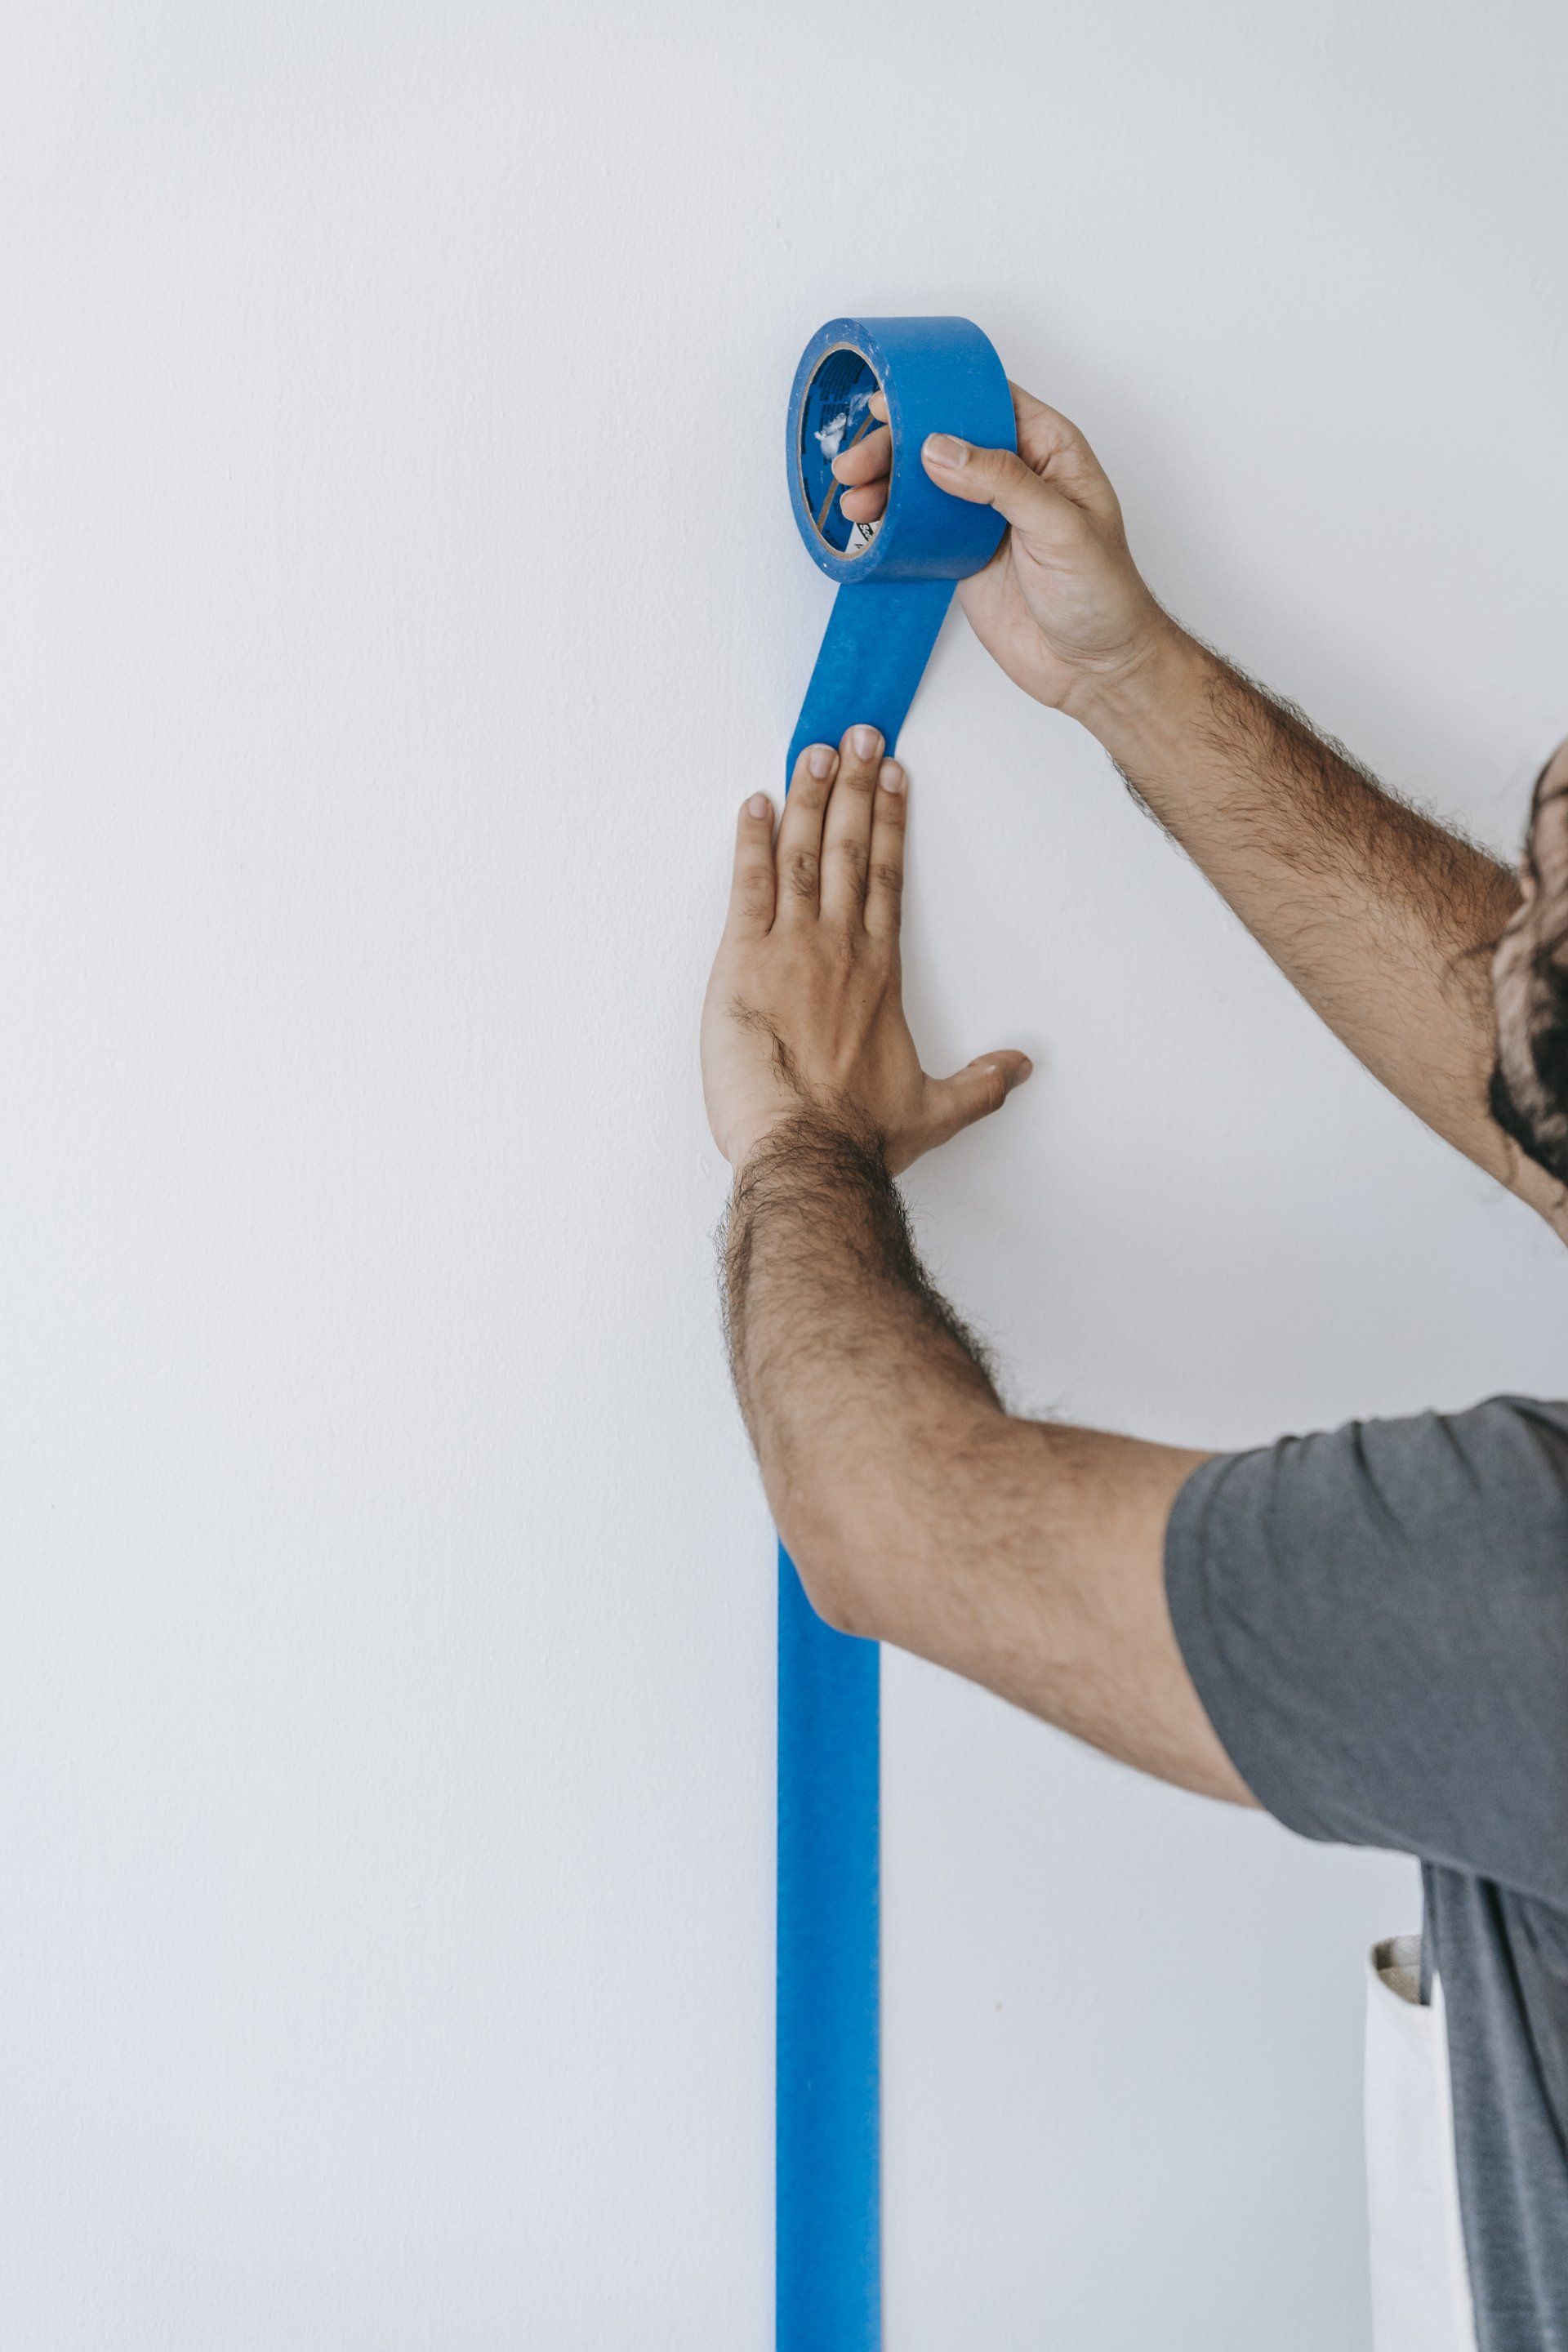
Then, wrap painter's tape across the edges of any bases, casings, and trim and then protect furniture using plastic. Be sure to cover the plastic wherever there is a gap so that your furniture is completely protected. Paint drops could get through tiny gaps. Be sure to cover your floors with a professional drop cloth. Do not use plastic because spilled paint can splatter on it, causing a slip danger. In addition, you'll likely walk in a few paint drops in the future and then accidentally get paint all over your home.
After everything is secured, apply a coat of primer. Many people skip this step in order to save money and time, but this isn't a good idea. Primer is a great way to hide the drywall's mud and tape, which is especially important if you're painting drywall that's new. Since the new drywall absorbs an abundance of paint, using primer might mean that you need two coats to finish instead of three. A good primer is essential for covering an attractive finish, stopping the previous color from leaking through, or sealing any staining on your wall, which includes water and mildew. Make sure that your primer is tinted to match the final color in the event that it's not a deep shade. If that's the case, you can tint it gray. It is impossible to create a deep-toned painting using white primers since dark hues are created from a clear base, not white.
Ready to work with Astra Expert Drywall Vancouver?
Let's connect! We’re here to help.
Send us a message and we’ll be in touch.
Or give us a call today at 778-402-1136
More Tips, Tricks & Tools