Hanging a Drywall
Hanging a Drywall
The Best Tips on How To Hang Drywall
Are you working on your home remodeling project and want to save money by doing some DIY or equity? Knowing the art of hanging drywall is an excellent idea!
It's not difficult to do. It's not necessary to have a master's qualification in construction to try this project a shot. All you require is arm strength (or the proper tools) and some useful drywall installation tips. Drywall hanging is a fantastic option to save money on the course of a major renovation.
The renovation of your basement is a huge project. And when you have a big project, it is likely to come with big marriage-testing, budget-busting, hormonally challenging, and sanity-testing problems.
How to Hang Drywall?
1.) Purchase sheetrock in smaller sizes: 4 by 8 1/2-inch lighter type.
Give yourself and the back of your neck a favor. These sheets of 4x12 are SUPER heavy and much more difficult to move if you don't have semi-trailers. However, smaller sheets can mean greater tape areas or sand, mud, and tape. It is a good idea to think about it, particularly if you're the person who will finish the work.
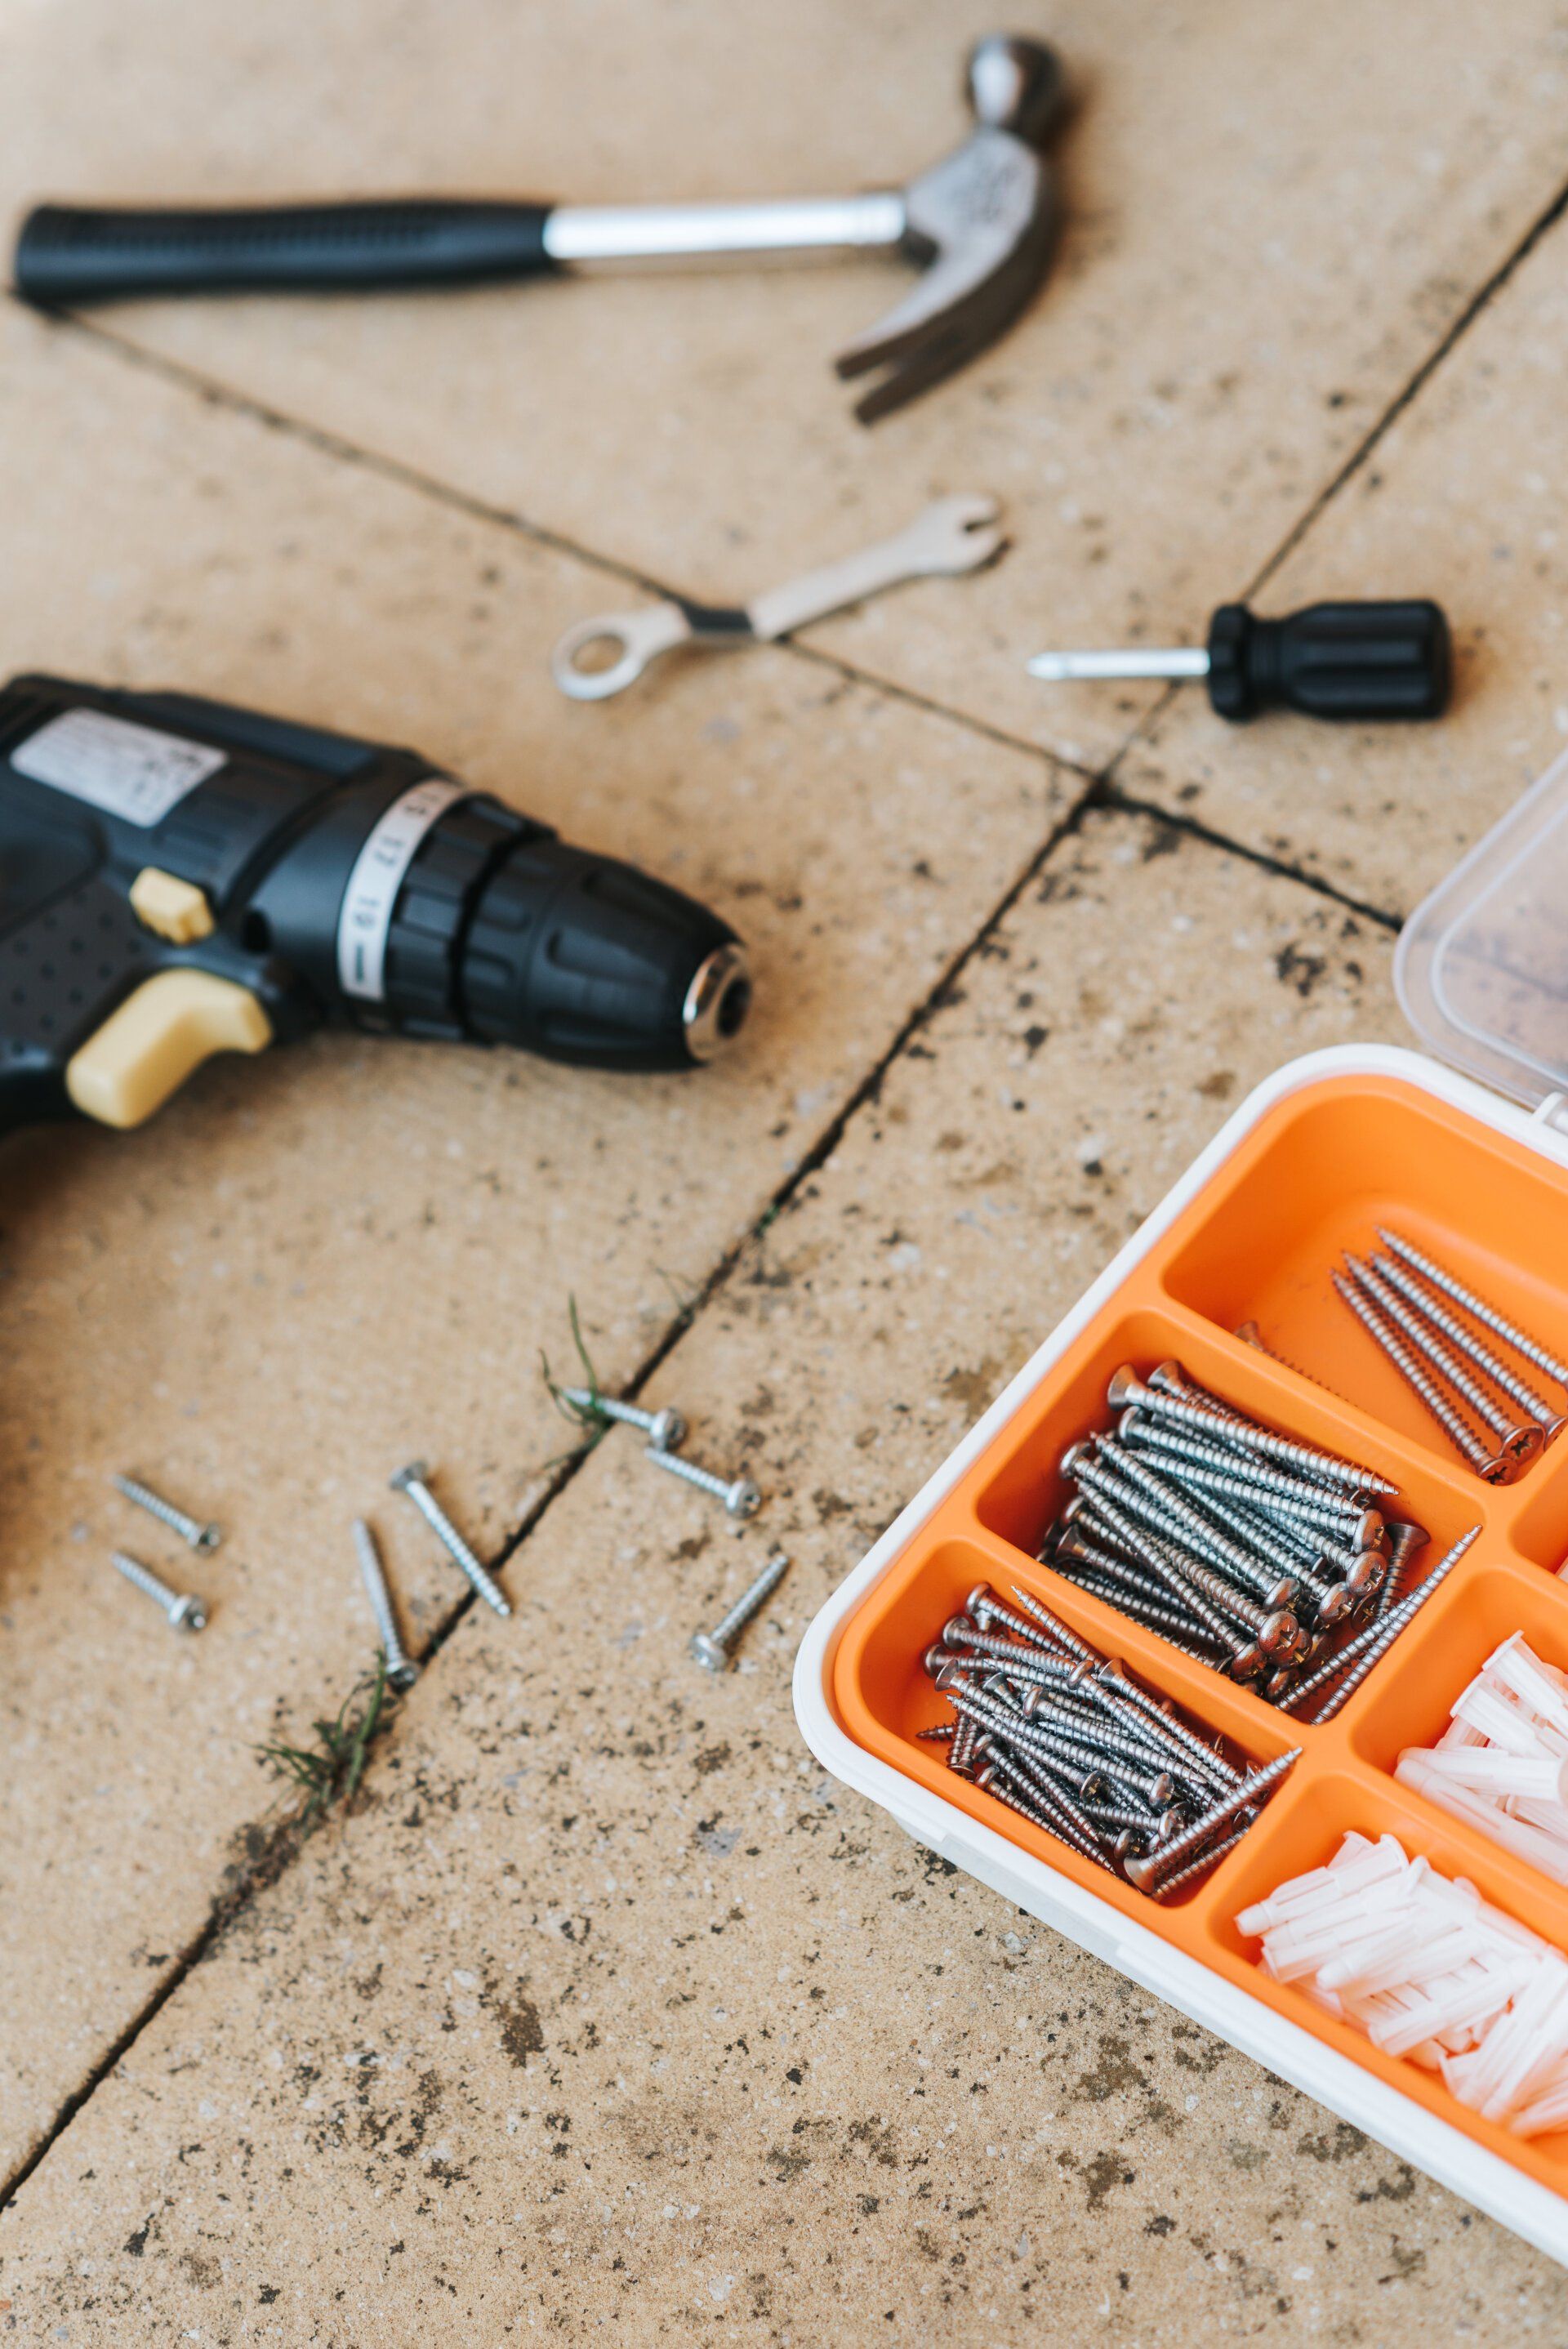
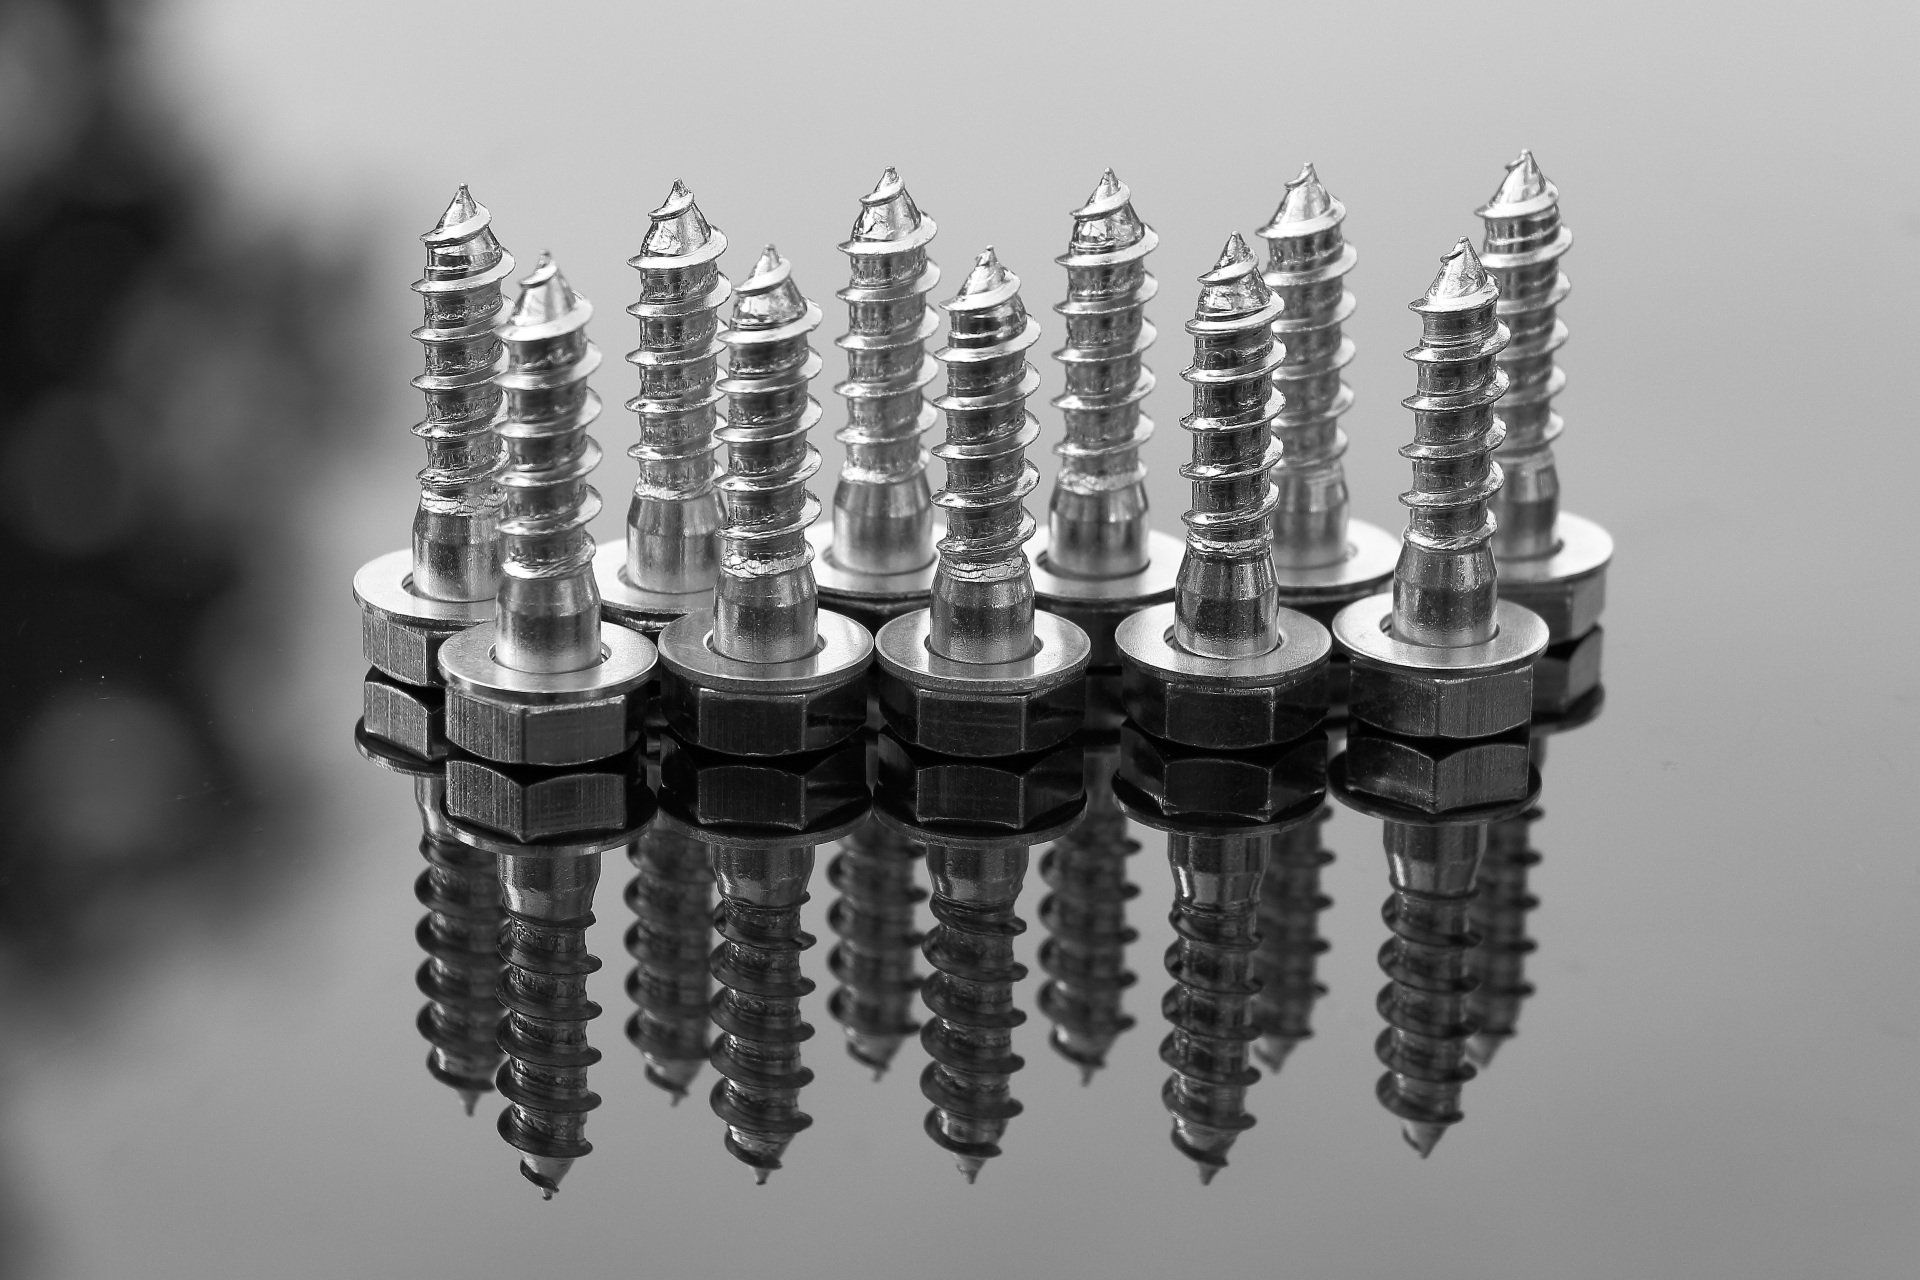
2.) Purchase enough screws for drywall.
There's nothing more frustrating than running short of supply about 3/4 of the way to the end of your construction. If you are using 16'' center studs, you'll make use of 36 screws per 4 by 8 sheet of drywall in general.
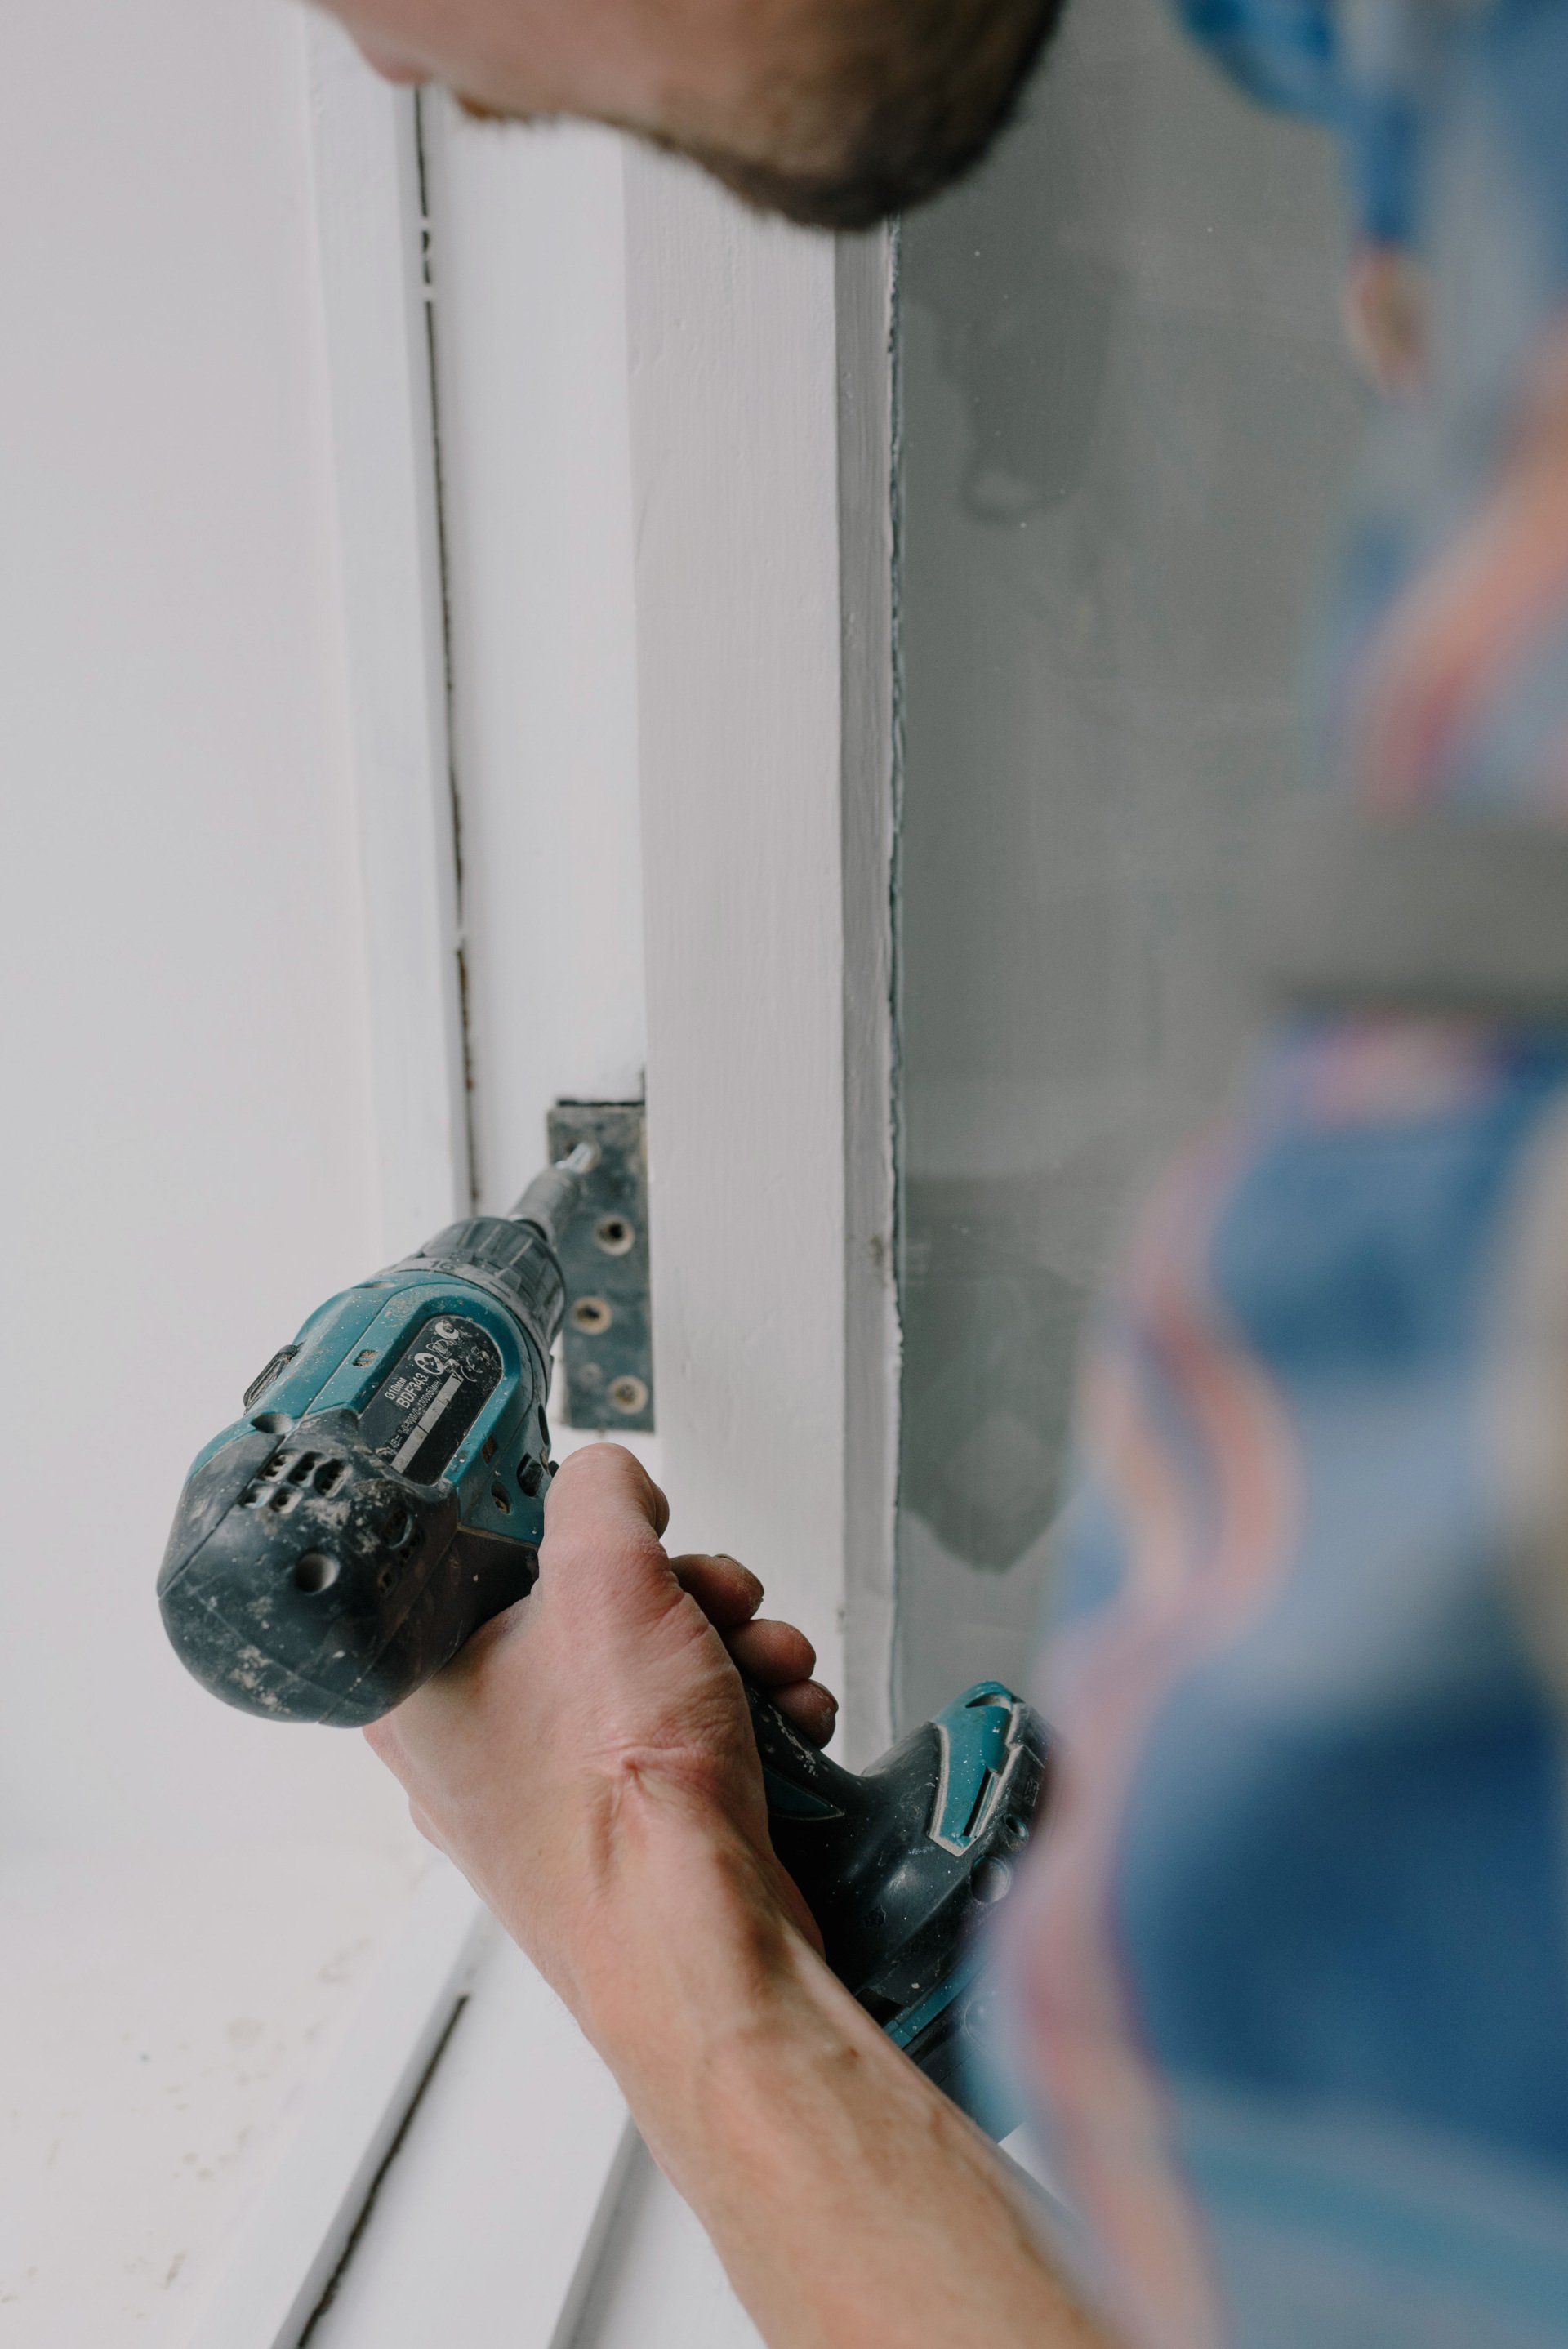
3.) Think about hanging your own sheetrock.
Ask for estimates from the company that specializes in drywall to hang the drywall and another estimate for finishing the drywall. If you're willing to take on the effort of making the walls yourself, you could save a significant amount of cost, particularly in an area that is large, such as your basement.
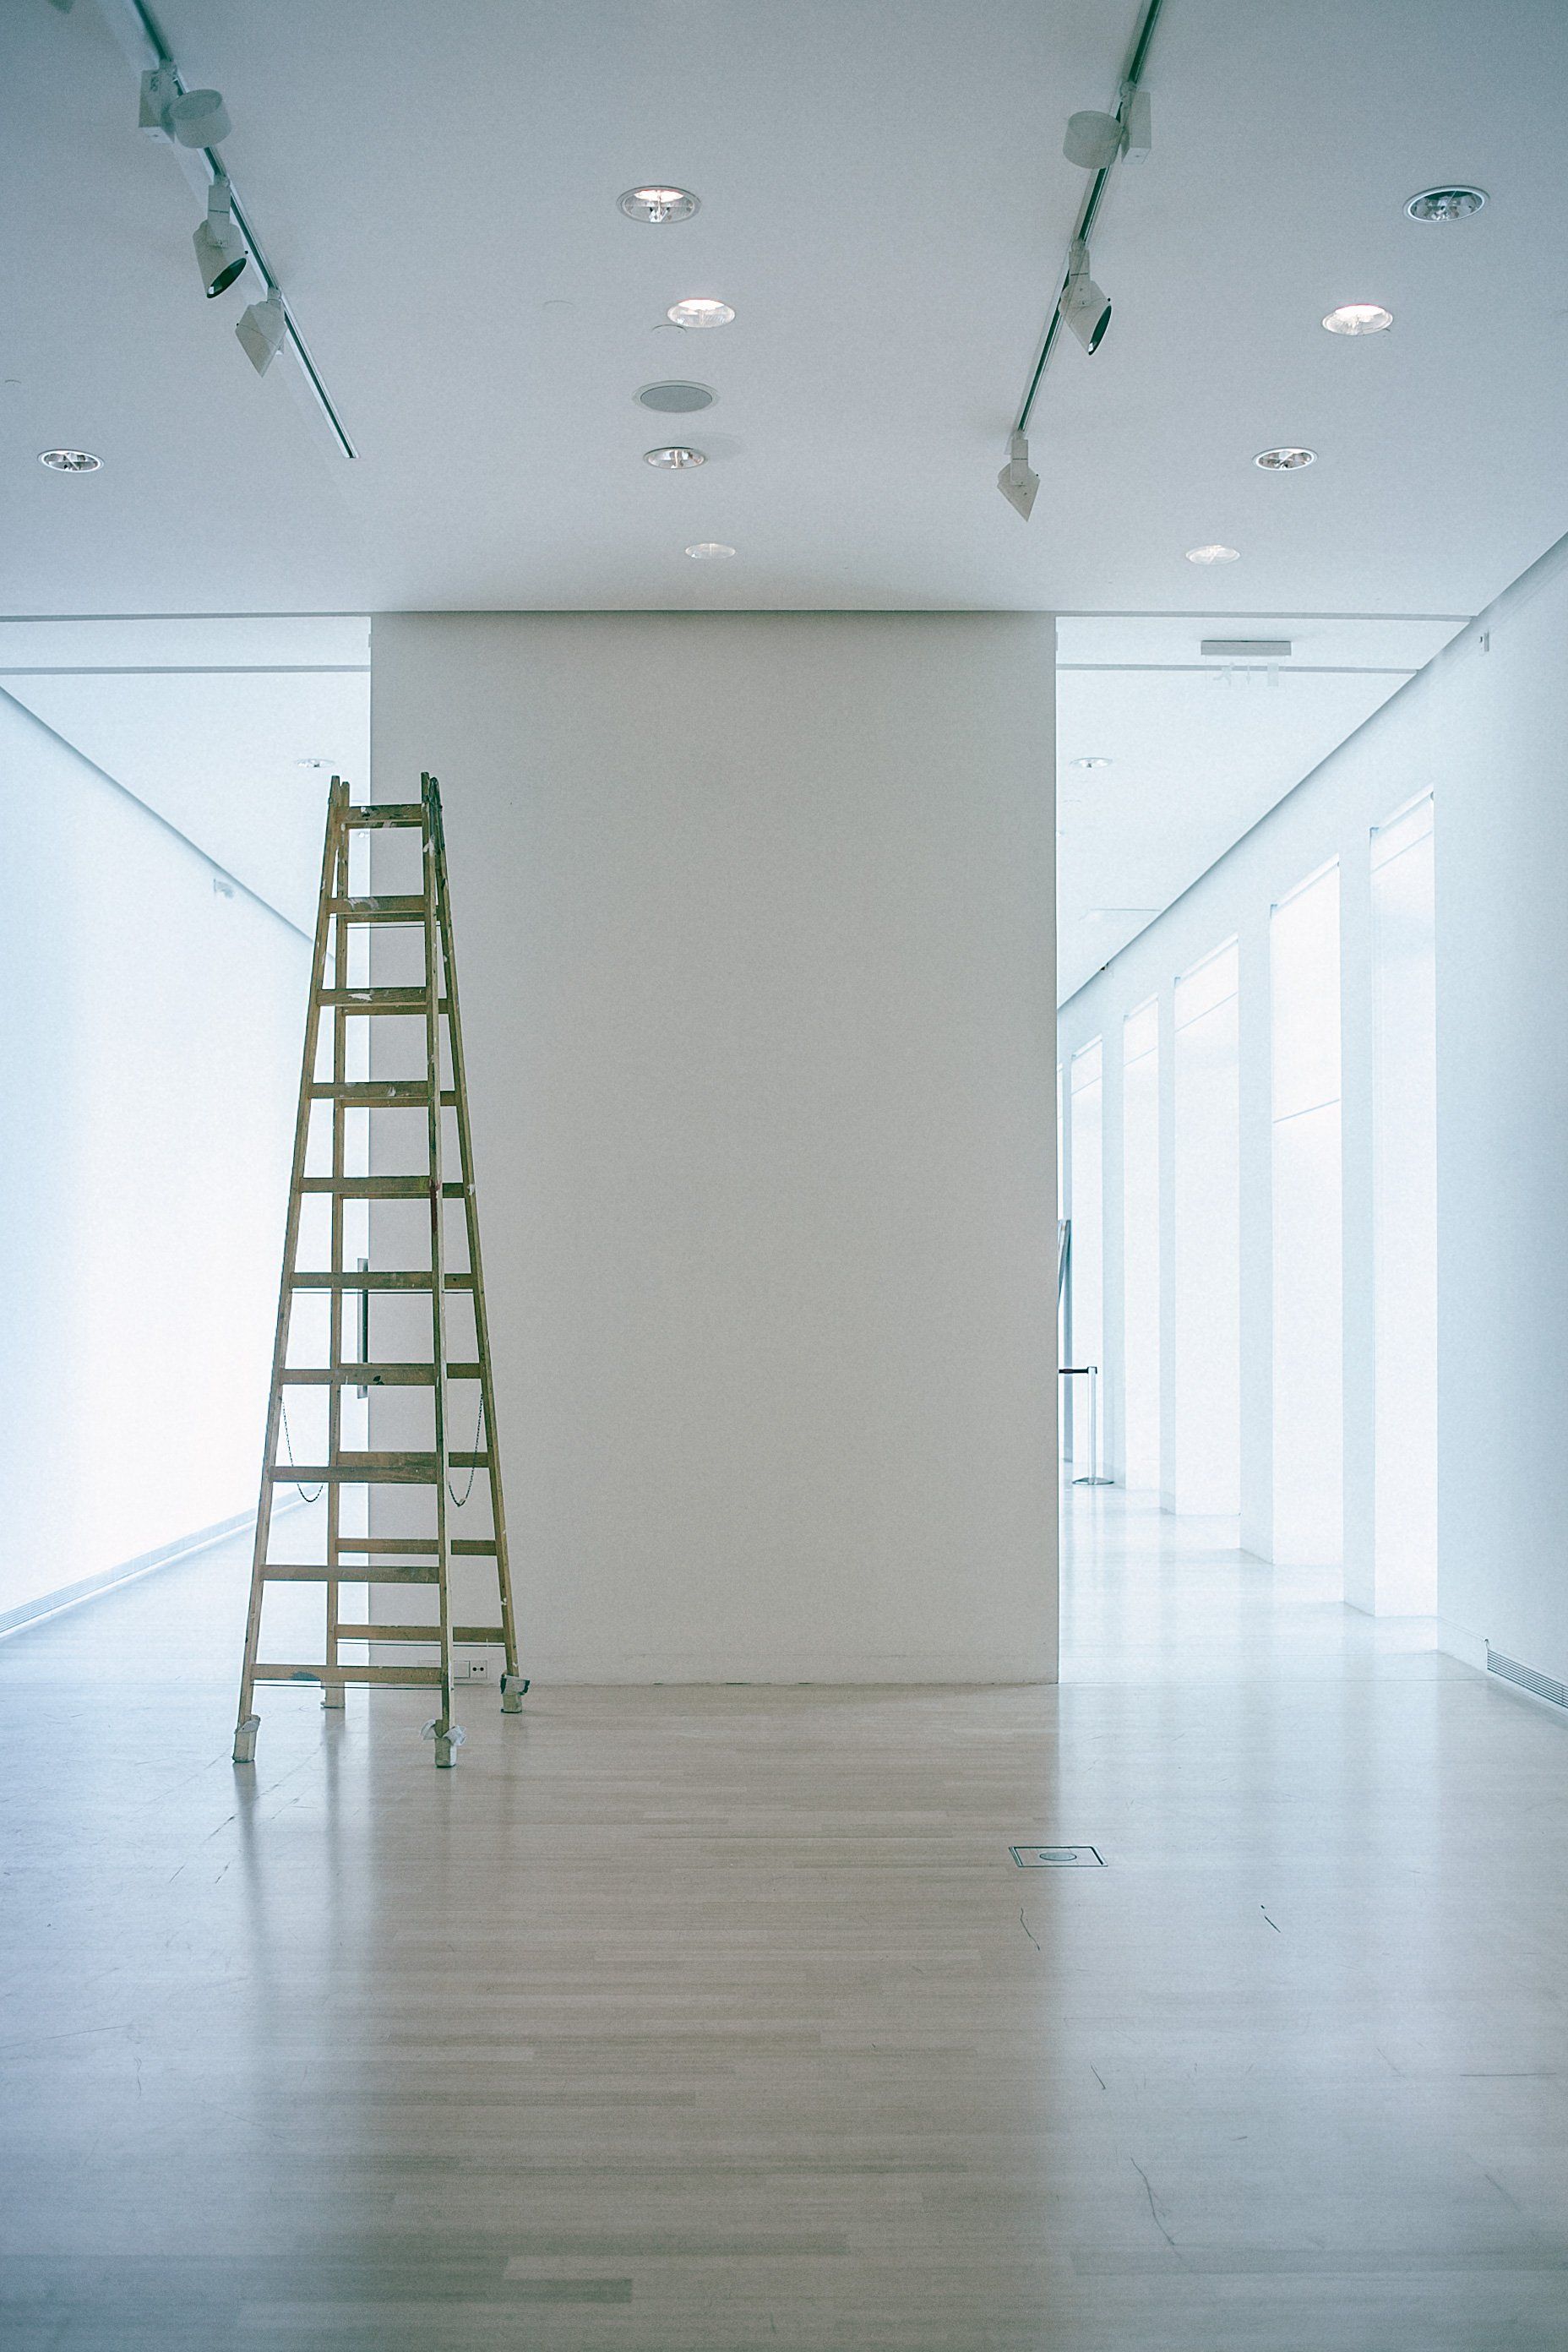
Hanging sheetrock over vertical walls is easier than hanging drywall on ceilings. How do you hang sheetrock from ceilings? You'll either have to hire a neighbor or a friend who owed a favor to give you some hands or hire a drywall lift that acts as a second set of hands. If you're hanging your own drywall on the ceiling, you'll surely require an elevator.
4.) Purchase a handle for sheetrock.
Sheetrock is bulky, heavy, and awkward, even the lighter varieties. These tools are simple and inexpensive help to lift the drywall much more easily and more ergonomically suited.
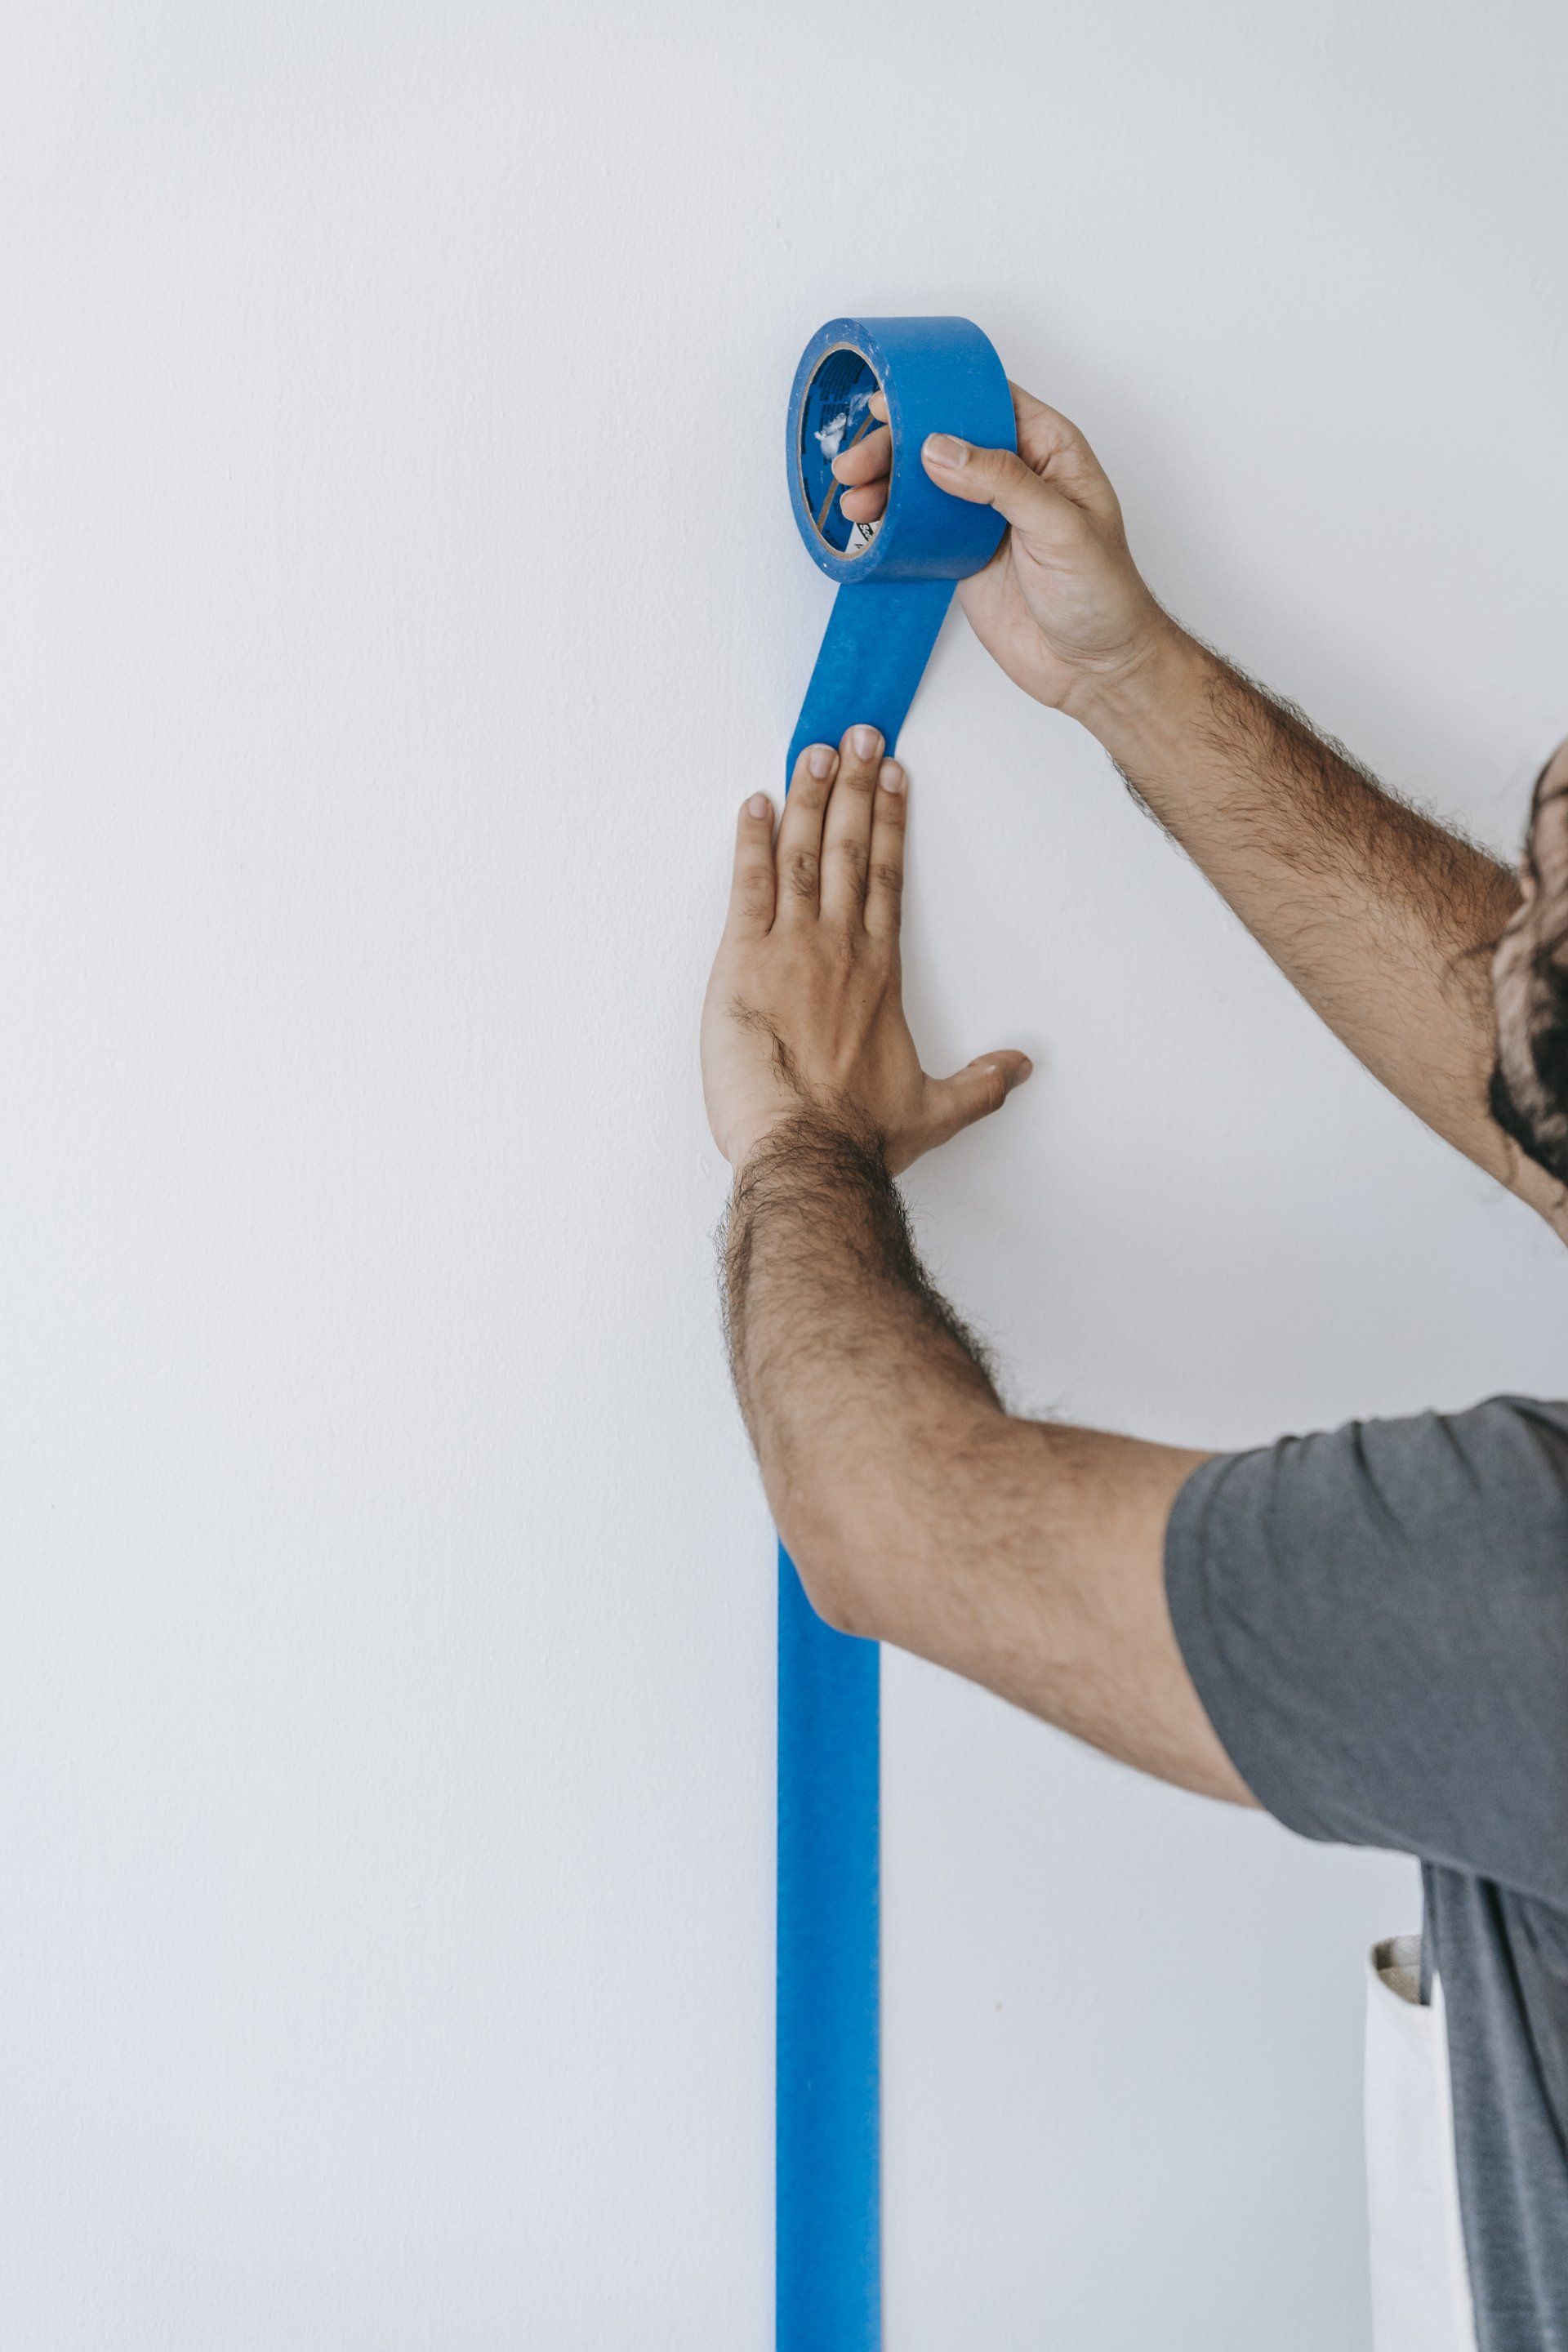
5.) Employ a professional for the tape.
Some were taught to tap drywall by their fathers. However, you may still employ a professional to do larger taping or finishing jobs because they can complete the job in half the time and will look twice as nice as if I were to complete the job.
6.) Think about doing the sanding yourself.
If you're in search of savings in costs, this might be a different aspect of drywall work to take into consideration on your DIY list. Sanding isn't an art of science. It's just a matter of knocking down any high spots and smoothing the area for painting and priming.
Utilize a sanding block on one hand. Your naked palm is the second device you'll require. Sand lightly. The most common mistake made by people is over-sanding. It isn't necessary to entirely eliminate the taping mud. Make use of your palm to check the surface's smoothness. If you're satisfied with the smoothness of your surface and it's clear of bumps and lumps, it's now ready for painting.
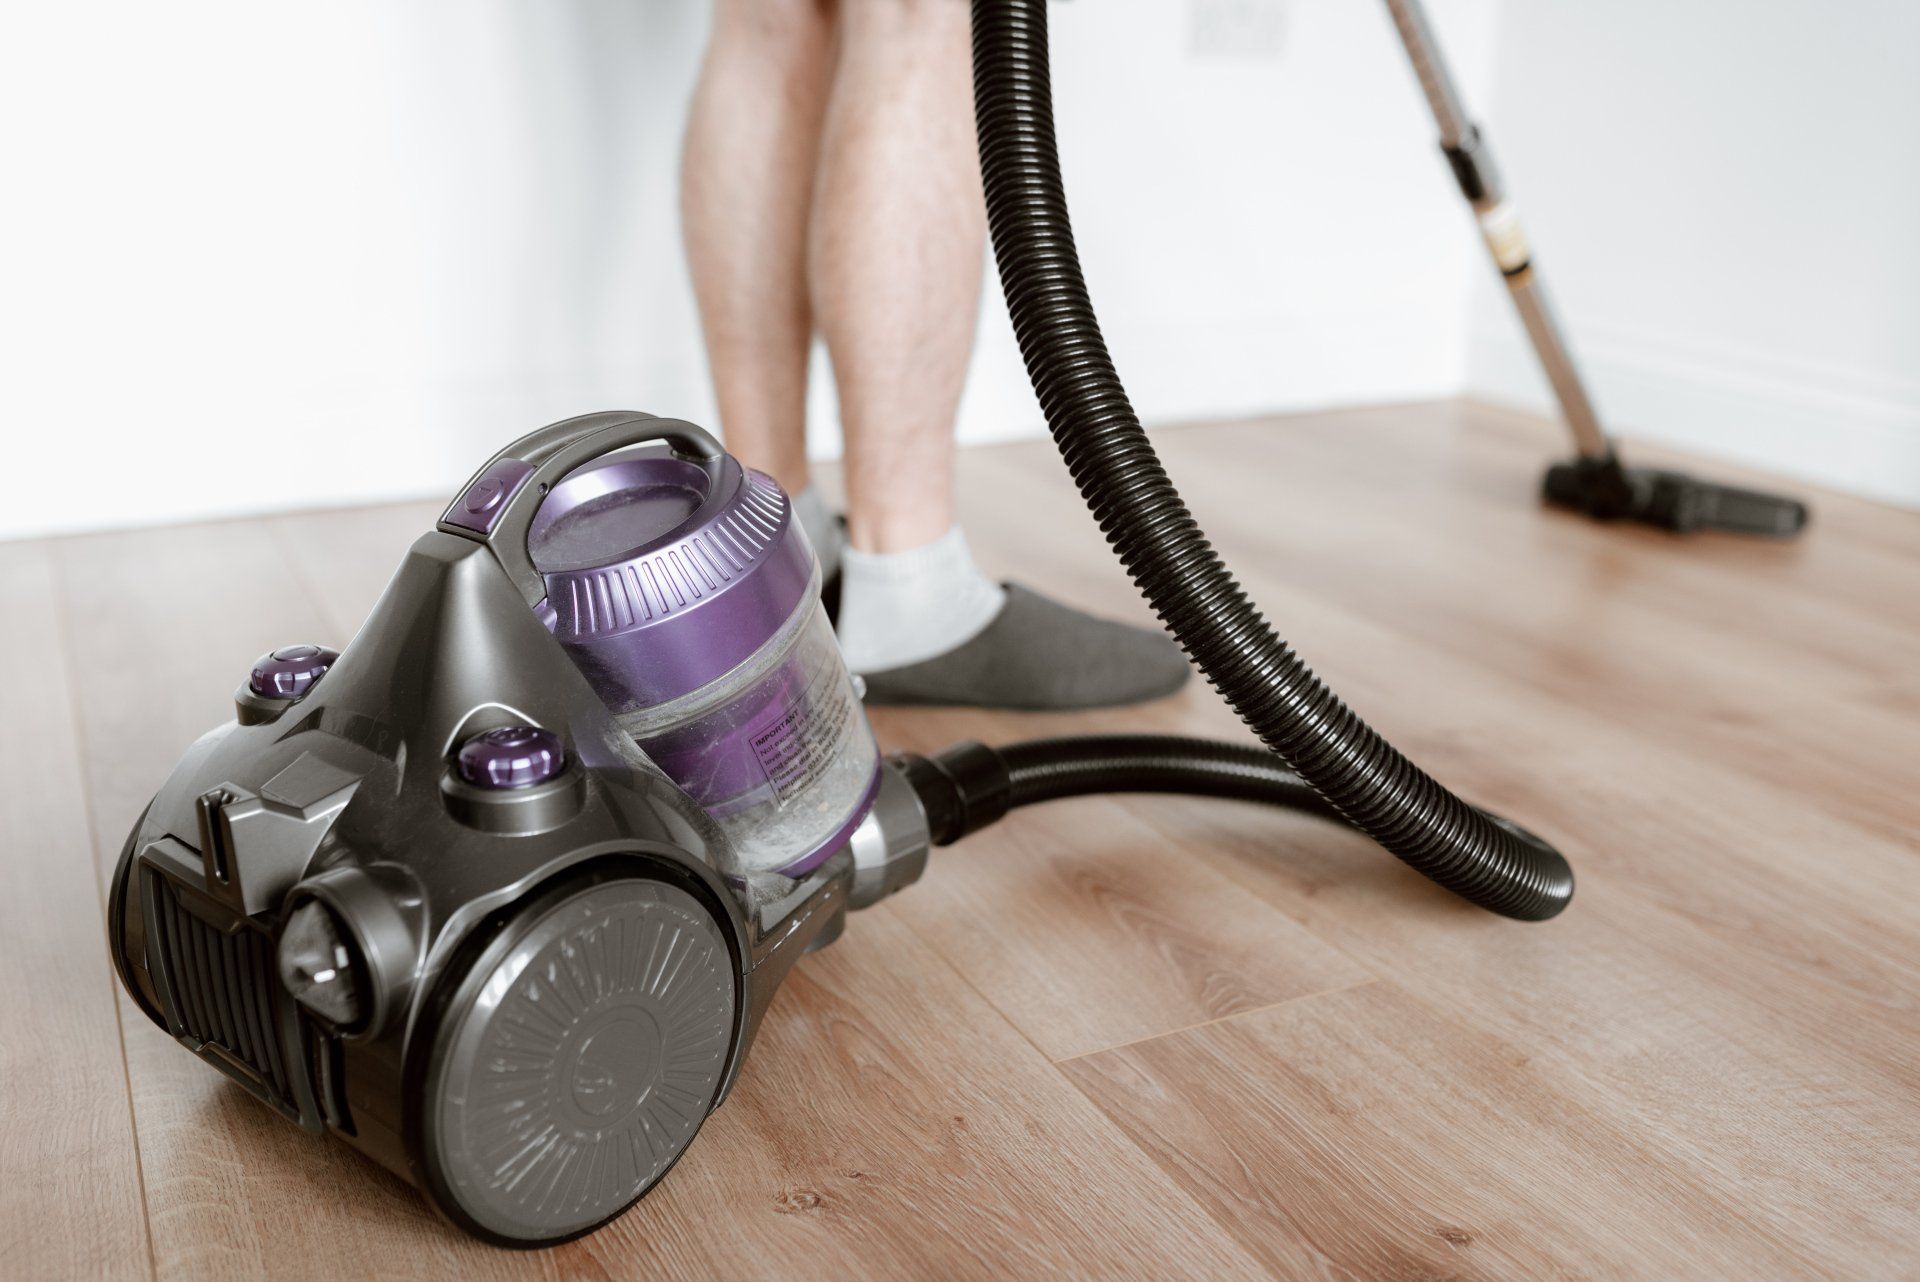
7.) Proper ventilation and equipment are essential when sanding.
If you are sanding yourself, be sure you have adequate ventilation, a fan/sanding vacuum system, and possibly an air filter to your dry shop vacuum (that's the one we're using) with a respirator, a mask, as well as eye safety.
Ready to work with Astra Expert Drywall Vancouver?
Let's connect! We’re here to help.
Send us a message and we’ll be in touch.
Or give us a call today at 778-402-1136
More Tips, Tricks & Tools